

If you’ve ever browsed through a magazine or online store, you’ve likely seen stunning product photography that makes the goods look irresistible. And while it may seem like these photos are taken in some high-end studio, with expensive lighting and equipment, the truth is that many of them are actually taken at home. With a little creativity and know-how, you can take your own amazing product photos right in your own home.
- Choose the right location: The best place to take product photos is in front of a window with natural light
- If you don’t have a lot of space, you can also use a white wall or plain background
- Set up your camera: Place your camera on a tripod or stable surface and use the self-timer or remote shutter release to avoid any camera shake
- If you’re using your phone, you can prop it up against something or use a selfie stick
- Adjust the settings: For most products, you’ll want to set your aperture to around f/8 and your shutter speed to 1/125th of a second
- This will ensure that your photos are sharp and properly exposed
- Frame the shot: Make sure that your product is in focus and correctly positioned within the frame
- If possible, try to fill the frame with the product for more impactful shots
- Take some test shots: Before taking your final photo, snap a few test shots to make sure everything looks good
- Once you’re happy with the results, go ahead and take lots of photos from different angles!
Product Photography At Home: Beginner to Intermediate Photography Tips | 3 Quick Tips
How Can I Take My Product Photos at Home With My Phone?
You don’t need a professional camera to take great product photos – your smartphone will do just fine! Here are some tips to help you get started:
1. Find a well-lit spot in your home.
Natural light is always best, so try to find a spot near a window where the light isn’t too harsh.
2. Set up your product on a plain background. A simple white sheet or piece of poster board works well.
3. Use props sparingly, if at all. You want the focus to be on your product, not on anything else around it.
4. Take plenty of shots from different angles and distances.
This way you’ll have plenty to choose from when you’re editing your photos later on.
5. Edit your photos before sharing them online. There are lots of great photo editing apps available for smartphones – find one that you’re comfortable using and make sure your photos look their best before posting them anywhere!
What Do I Need for Product Photography?
Product photography is a specialized field of photography that involves the capture of images used to sell a product. Product photos are typically taken with specialised equipment and lighting, and often require the use of advanced editing techniques to create a high-quality finished product.
There are many different types of products that can benefit from professional photography, including: food, fashion, furniture, home décor, electronics, and more.
When deciding if product photography is right for your business, it’s important to first consider what type of product you’re selling and how best to showcase it. For example, food photographers often use creative props and backdrops to make their subject stand out, while fashion photographers focus on capturing the garment in all its details.
Once you’ve decided that product photography is right for your business, there are a few important things you need to take into consideration before getting started.
Here are four essential tips for anyone interested in starting out in product photography:
1. Invest in quality equipment
If you want to produce high-quality product photos, you need to invest in quality equipment.
This includes everything from camera bodies and lenses to tripods and lighting gear. While it’s possible to get by with lower-end equipment when starting out, investing in quality gear will help you produce better results and save time in the long run.
2. Learn about composition and lighting
Photography is all about light – without it, there would be no image! Learning how to control light through exposure settings and composition will help you create stunning product photos that really pop. If you’re new to photography or want brush up on your skillset before getting started with product shots, consider taking an online course or two (there are plenty of great options available).
3. Find inspiring locations
The location of your shoot can have a big impact on the overall look and feel of your images. When scouting locations for your shoot , keep an eye out for places with ample natural light (avoid shooting during midday when the sun is at its strongest), interesting architecture or backgrounds ,and plenty space to set up your gear .
Once you’ve found the perfect spot ,snap some test shotsto get a feel for how the light works in different areas before setting up your products .
4 .Edit like a pro
How Can I Take Pictures of My Small Business Products?
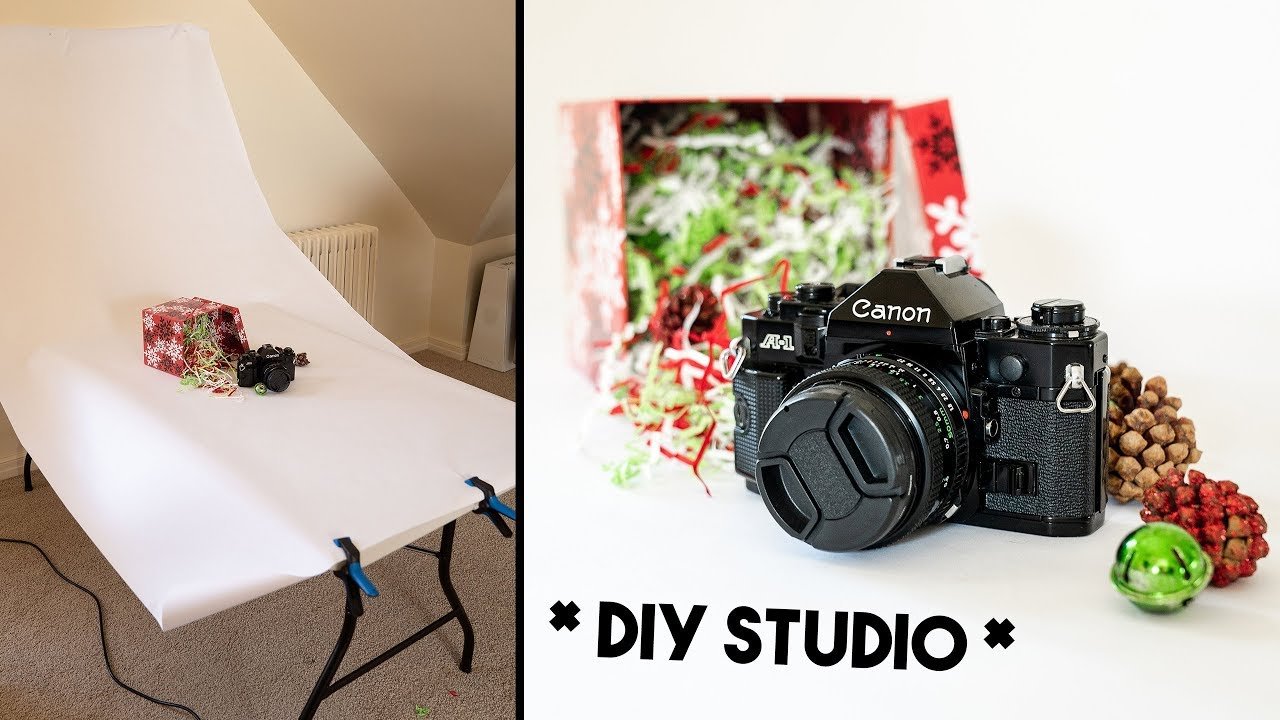
In order to take pictures of your small business products, you will need to set up a photoshoot. This can be done by either hiring a professional photographer or by setting up your own DIY photography studio. If you decide to hire a professional photographer, be sure to communicate your vision for the shoot and what types of shots you are looking for.
If you are setting up your own DIY photography studio, there are a few things you will need to do in order to get started. First, find a space that has good lighting and is large enough to accommodate all of your products. Next, set up a backdrop and any props that you might want to use.
Finally, arrange your products in an attractive way and start taking pictures!
How Do You Take Creative Pictures of Products?
Product photography is all about capturing the product in a way that is creative and visually appealing. There are a few things you can do to make your product photos stand out from the rest.
Use interesting angles: Instead of just photographing the product straight on, try using different angles to add interest.
Get close up: Getting close up allows you to show off the details of the product. Use props: Props can help to tell a story about the product and make it more visually appealing. Natural light: Natural light will always give your photos a softer, more flattering look.
Edit your photos: A little bit of editing can go a long way in making your photos look their best.
By following these tips, you can take creative and beautiful product photos that will really stand out.

Credit: expertphotography.com
How to Take Good Photos of Products to Sell
If you’re selling products online, chances are good that you’ll need to take some photos of those products. And if you want to sell those products, you’ll need to take good photos! Here are some tips on how to take good photos of products to sell:
1. Use a tripod. This will help keep your camera still and avoid blurry photos.
2. Use a macro lens.
This will allow you to get close-up shots of small details on your product.
3. Set up a simple, clean background. A white sheet or piece of poster board makes a great backdrop for product photos.
4. Make sure the lighting is good. Natural light is best, but if you’re using artificial light, make sure it’s not too harsh or too dim.
How to Take Product Photos With Phone
Are you thinking about starting a product photography business? Or maybe you just want to take some nice pictures of your products to post on your website or social media. Either way, you’re in luck!
It’s actually very easy to take professional-looking product photos with just your phone.
Here are some tips:
1. Use natural light whenever possible.
sunlight is the best light for taking pictures, so try to take your photos near a window or outdoors. If you can’t use natural light, artificial lighting like lamps can work too. Just avoid using flash if you can help it.
2. Clean up your background. You don’t want anything distracting in the background of your photo, so make sure it’s clean and simple before you start shooting. A plain white wall or piece of fabric makes a great backdrop for product photos.
3. Get close to your subject. The closer you are to your subject, the better the photo will turn out. So get in close and fill up the frame with your product.
How to Take Product Photos With Iphone
Are you looking to take your product photography to the next level? If so, you may be wondering how to take product photos with iPhone.
While iPhones have come a long way in terms of camera quality, there are still some things you can do to make sure your photos are as high-quality as possible.
Here are our top tips:
1. Use natural light whenever possible. This will help avoid shadows and ensure your products are well-lit.
2. If you must use flash, try to diffuser it by covering the flash with a tissue or piece of paper. This will help soften the light and prevent harsh shadows.
3. Use a tripod if possible.
This will keep your hands free and help avoid blurry photos due to camera shake.
Conclusion
In order to take great product photography at home, there are a few things you can do to set up your shots. First, find a well-lit area in your home where you can set up your products. Second, use a tripod to keep your camera steady and avoid blurry photos.
Third, use a macro lens to get close-up shots of your products. Finally, take advantage of natural light by shooting near windows or outdoors. With these tips in mind, you can take beautiful product photos at home!
